NAS从入门到Boom① —— 基础环境的配置
前言
最近在玩PT,大量的下载使得我硬盘不堪重负,于是改造家里的AIO服务器便提上了日程。因在刷PT时有观看影片转码的需求,遂选购HC320 8T一块,Quadro P400 2G一张。总体配置如下:
| Type | Name |
|---|---|
| CPU | Xeon X3440 @ 2.53 GHz |
| 主板 | Supermicro X8SIL-V |
| 内存 | Kingston ECC UDIMM 2Rx8 8GB |
| 显卡 | NVIDIA Quadro P400 2GB |
| SSD | Kingston UV400 |
| HDD | Western Digital HC320 8TB |
为何选择P400?
参照:https://developer.nvidia.com/video-encode-and-decode-gpu-support-matrix-new
根据nv最新的表格显示,P400拥有3路NVENC编码(甚至可以破解),支持H.264,H.265 10-bit等格式,同时对编码也有较好的支持,重点是拆机P400只要¥350,在一众解码卡中显得非常实惠。
系统安装
由于系统已经安装好了,这里以虚拟机作为演示
在https://proxmox.com/en/downloads下载安装镜像,用Rufus / etcher刻入U盘
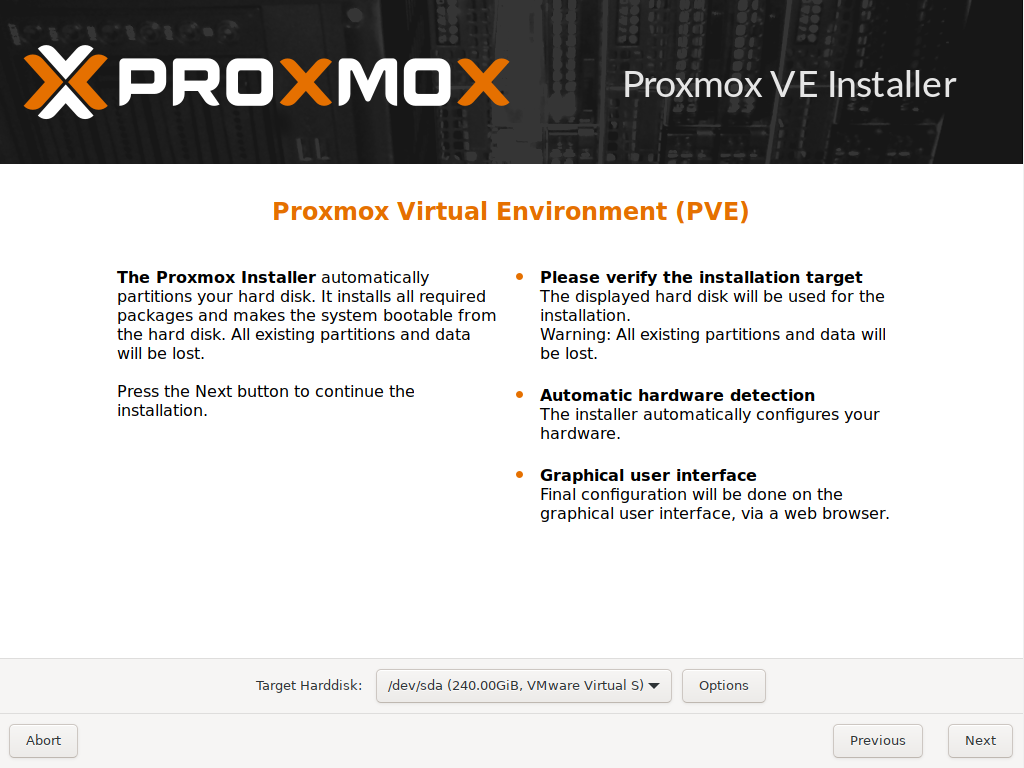
从安装镜像启动,同意用户协议,选择安装磁盘
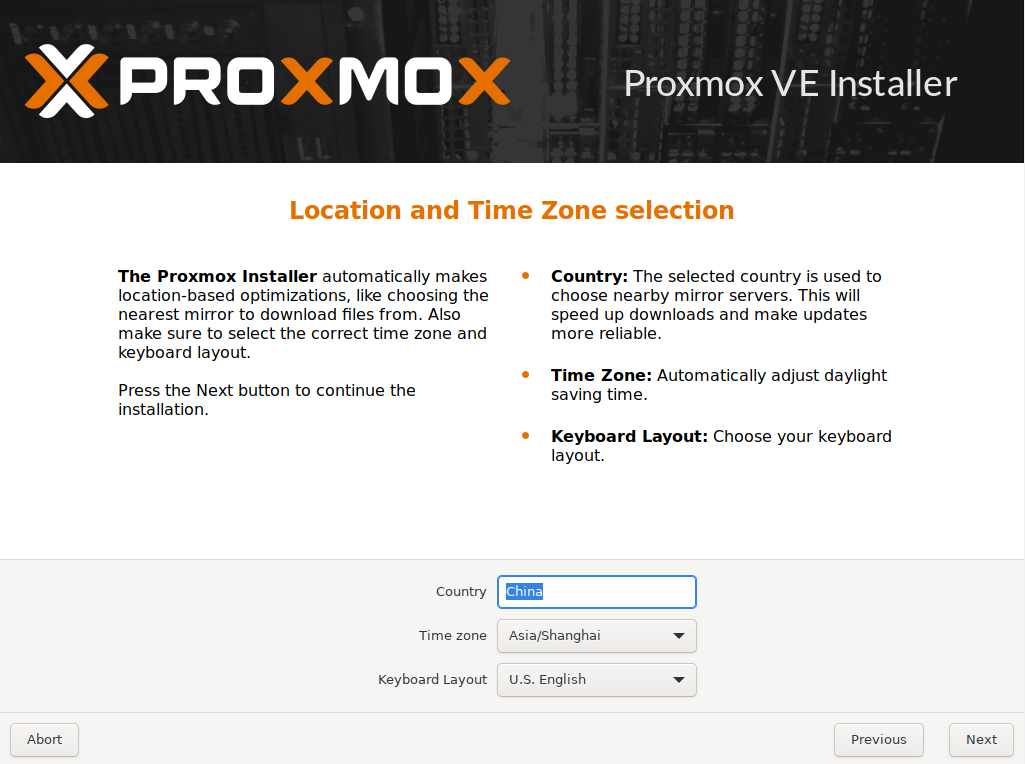
选择正确的时区
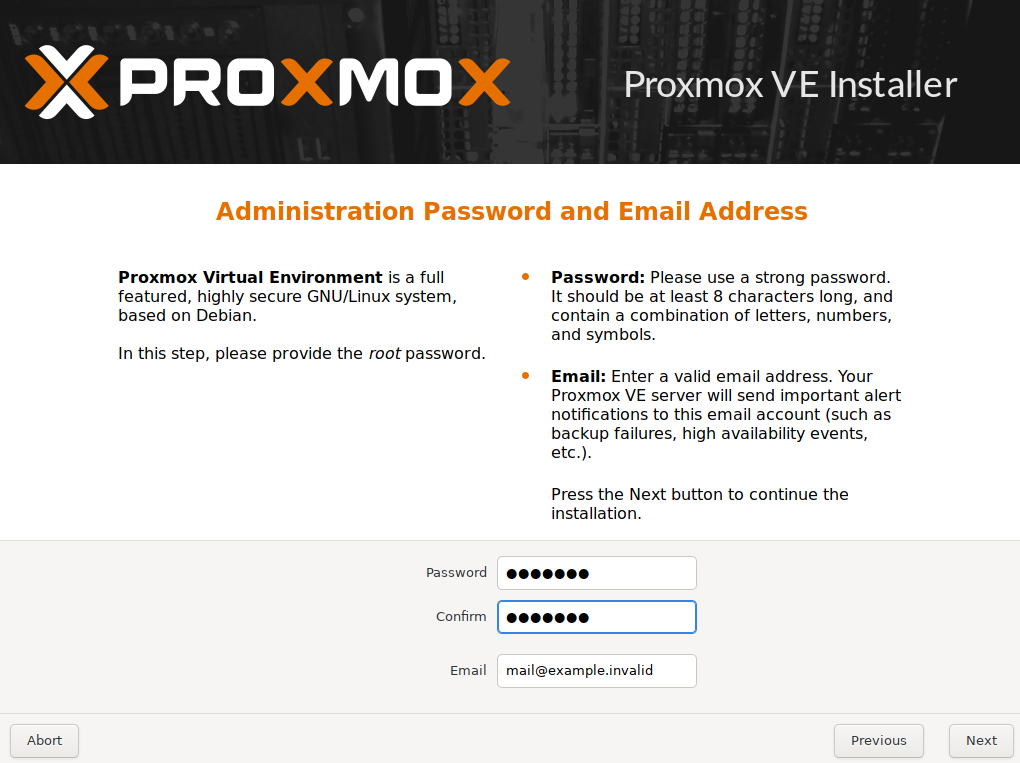
配置密码
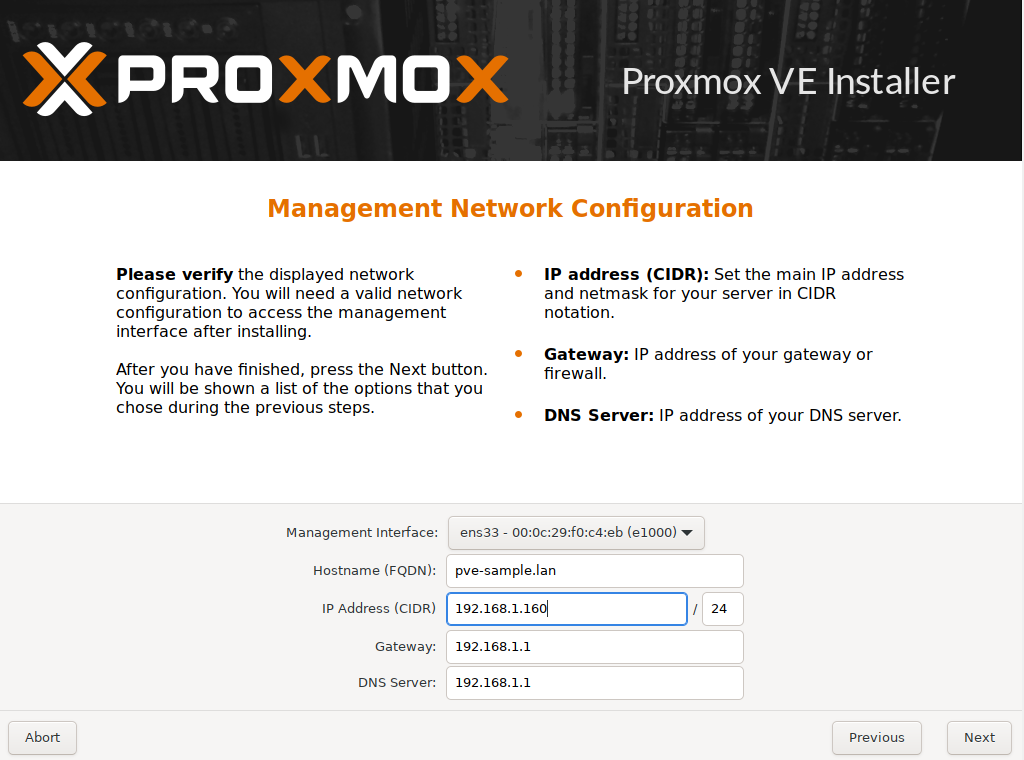
配置IP地址
安装完成后重启,浏览器访问https://[你配置的IP]:8006进入PVE管理界面
删除local-lvm并合并
PVE在默认情况下会将系统盘分为local和local-lvm两个分区,在实际使用的时候往往其中一个不够用了另一个还很空的情况,一般来说在安装完成后将local-lvm合并入local,方便自己管理
以root登录后台,点击左边的节点,选择
Shell,键入1
lvremove pve/data
输入y确认

键入
1
lvextend -l +100%FREE -r pve/root
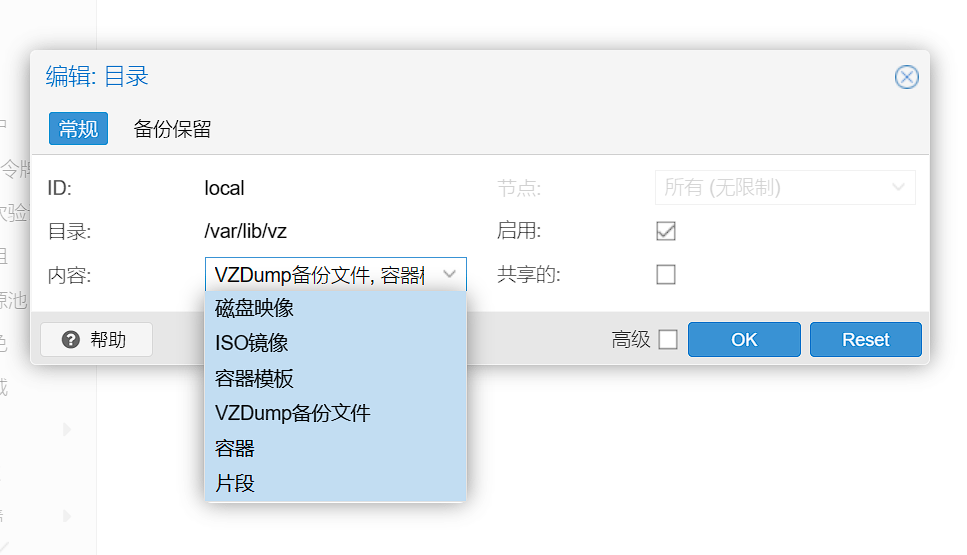
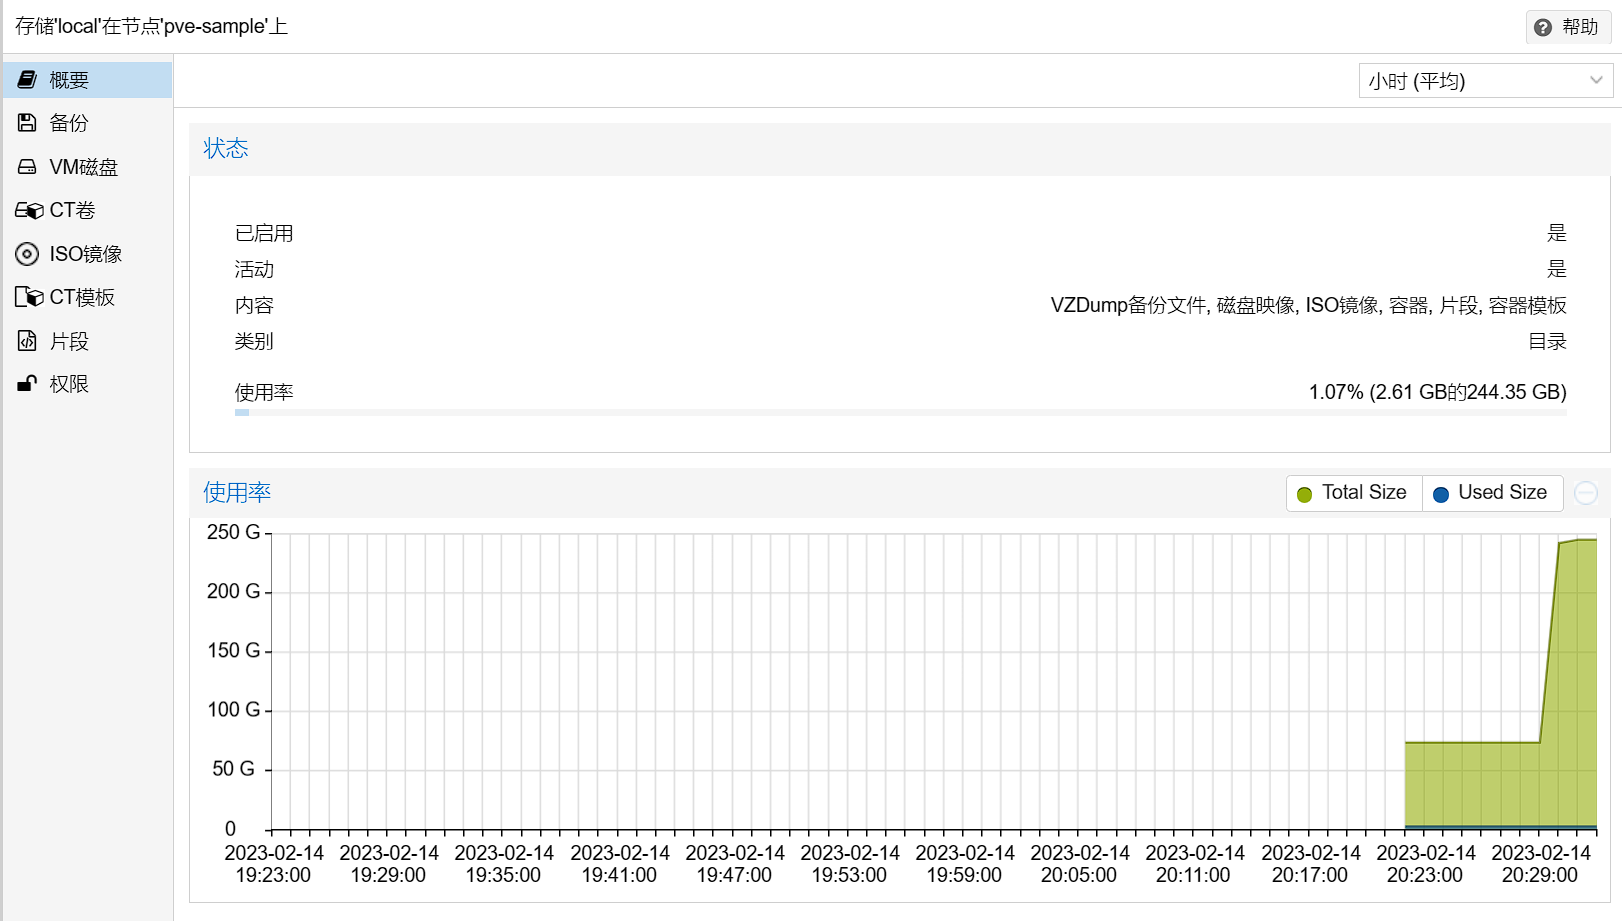
在
数据中心 - 存储中删除local-lvm,并编辑local,在内容一项中勾选所有可选项。


配置HDD
点击左侧的节点,选择磁盘
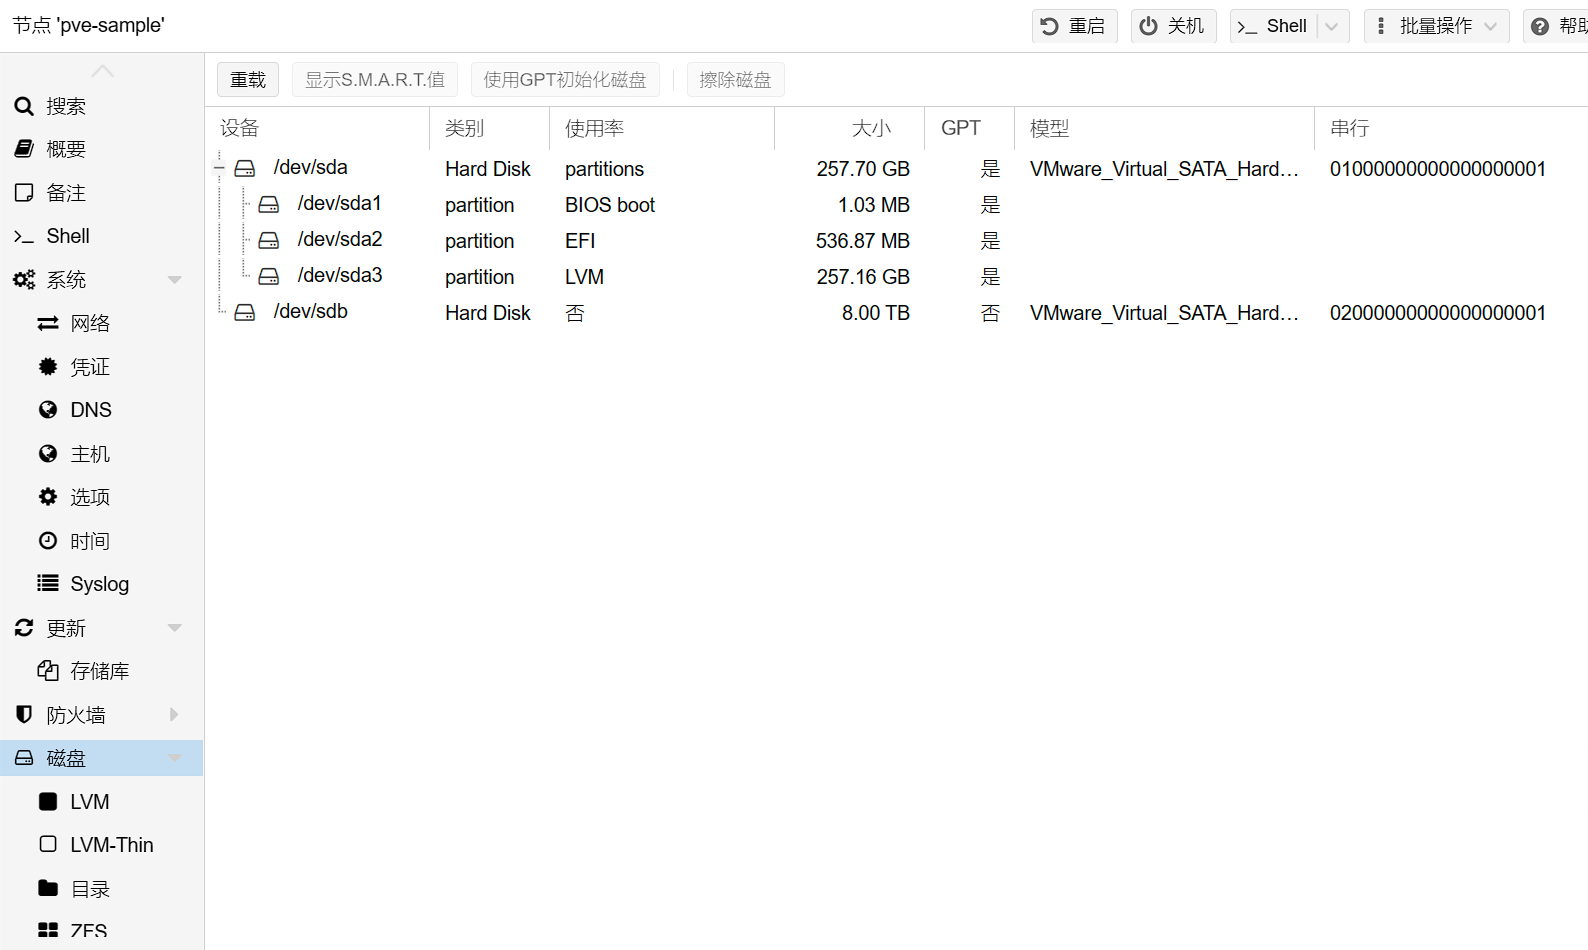
选择/dev/sdb,点击使用GPT初始化磁盘
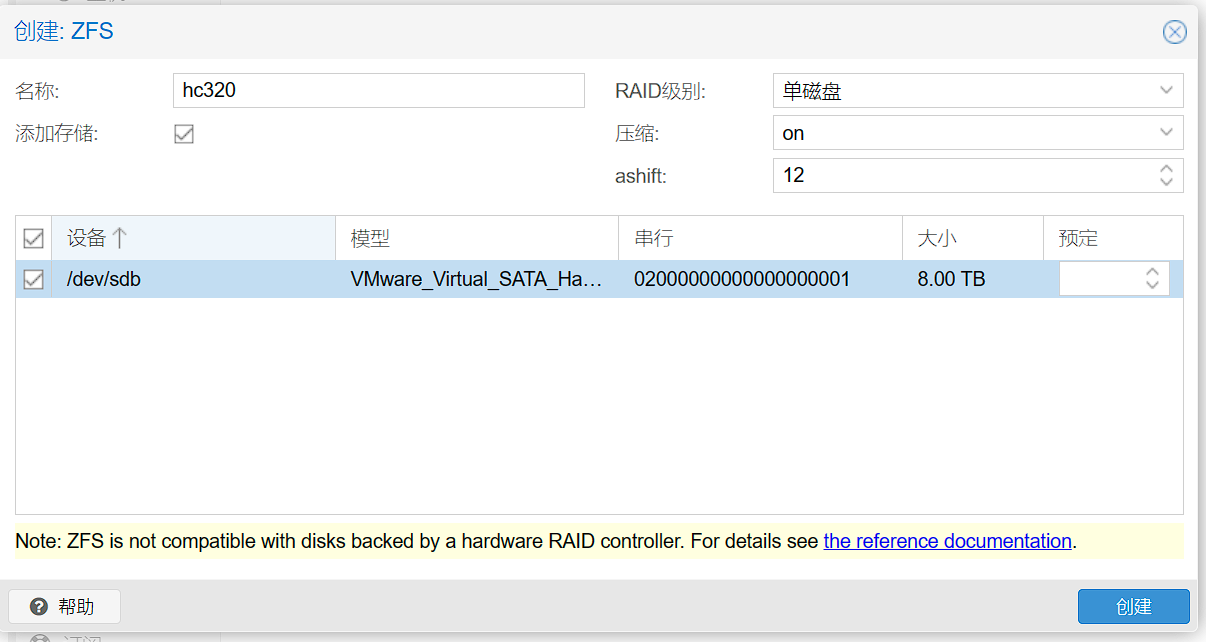
使用zfs
点击ZFS - 创建:ZFS,输入名称,选择设备,创建完成
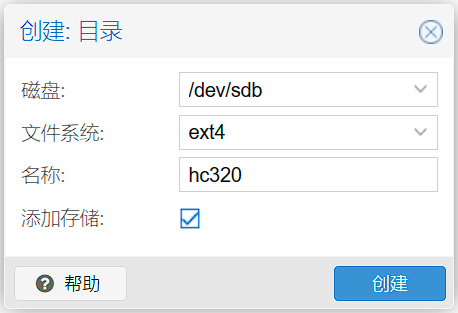
不使用zfs
点击目录 - 创建:目录,输入名称,选择文件系统,创建完成
配置软件源
替换apt软件源
替换前建议先更新下证书,否则可能由于证书不可用导致 https 无法使用,进而无法下载所有软件
1 | apt install apt-transport-https ca-certificates |
编辑/etc/apt/sources.list
将原有内容替换为:
1 | deb https://mirrors.ustc.edu.cn/debian/ bullseye main contrib non-free |
禁用PVE企业源
编辑/etc/apt/sources.list.d/pve-enterprise.list,将其中内容替换为如下以禁用企业源:
1 | deb https://mirrors.ustc.edu.cn/proxmox/debian bullseye pve-no-subscription |
修改LXC容器源
编辑/usr/share/perl5/PVE/APLInfo.pm,将第200行中http://download.proxmox.com/images替换为https://mirrors.ustc.edu.cn/proxmox/images即可,重启pvedaemon服务后生效:
1 | systemctl restart pvedaemon.service |
配置显卡
前置工作
查看机器上识别到的NVIDIA GPU
1 | lspci | grep -i nvidia |

安装内核头文件
1 | # 查看内核版本号 |
安装编译环境
1 | apt install gcc make |
禁用开源驱动
Linux默认会自带一个nv开源驱动(nouveau),此驱动与官方驱动冲突,必须将其禁用。
查看是否在使用nouveau:
1 | lsmod | grep nouveau |
如有使用,创建配置文件禁用:
1 | nano /etc/modprobe.d/blacklist-nouveau.conf |
写入以下内容后保存退出:
1 | blacklist nouveau |
更新内核initramfs文件:
1 | update-initramfs -u |
重启后生效。可以输入lsmod | grep nouveau验证
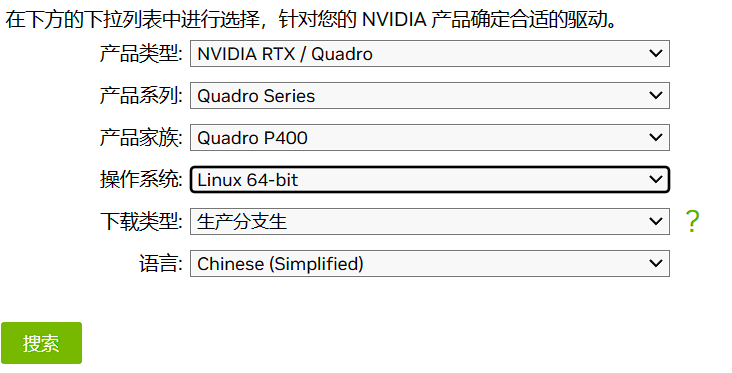
安装官方驱动
前往nvidia官网下载驱动
下载并安装:
1 | wget https://cn.download.nvidia.com/XFree86/Linux-x86_64/525.89.02/NVIDIA-Linux-x86_64-525.89.02.run |
一路回车即可
安装完毕后,重启服务器,输入nvidia-smi查看信息:
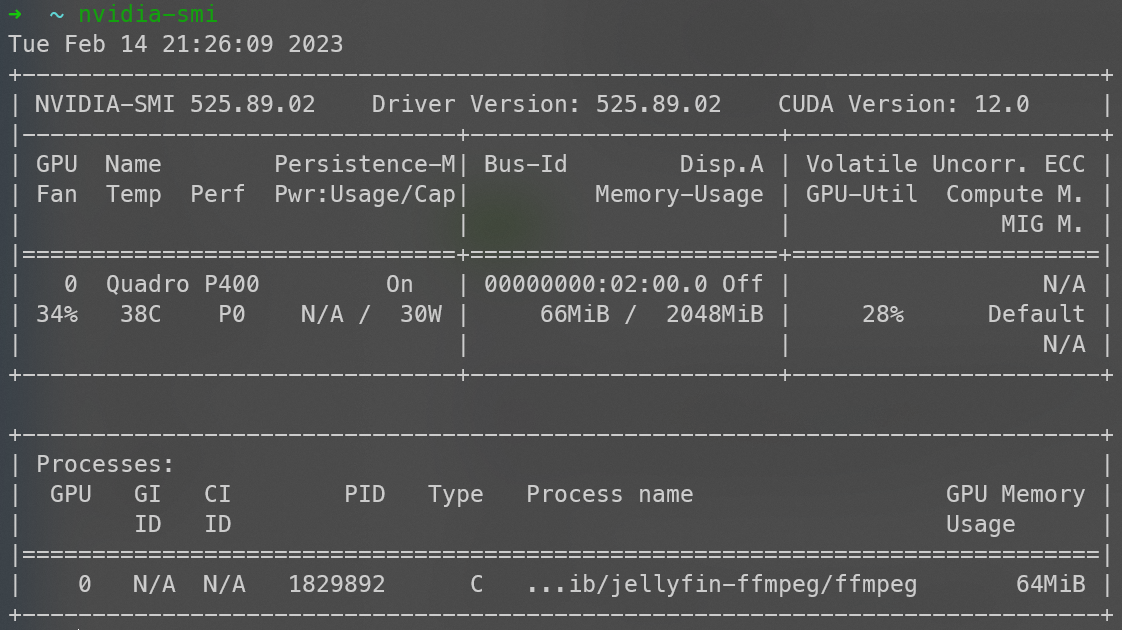
破解编码线程数限制
在上面的表格中我们可以知道,万恶的黄🐶(f**k u nvidia)将所有消费级显卡和低端专业卡的编码线程数限制在3个线程(4090也不能同时开4个编码任务)。所幸有大神开发出了破解工具,可以一键解除黄🐶的限制。
1 | wget https://ghproxy.com/https://raw.githubusercontent.com/keylase/nvidia-patch/master/patch.sh |
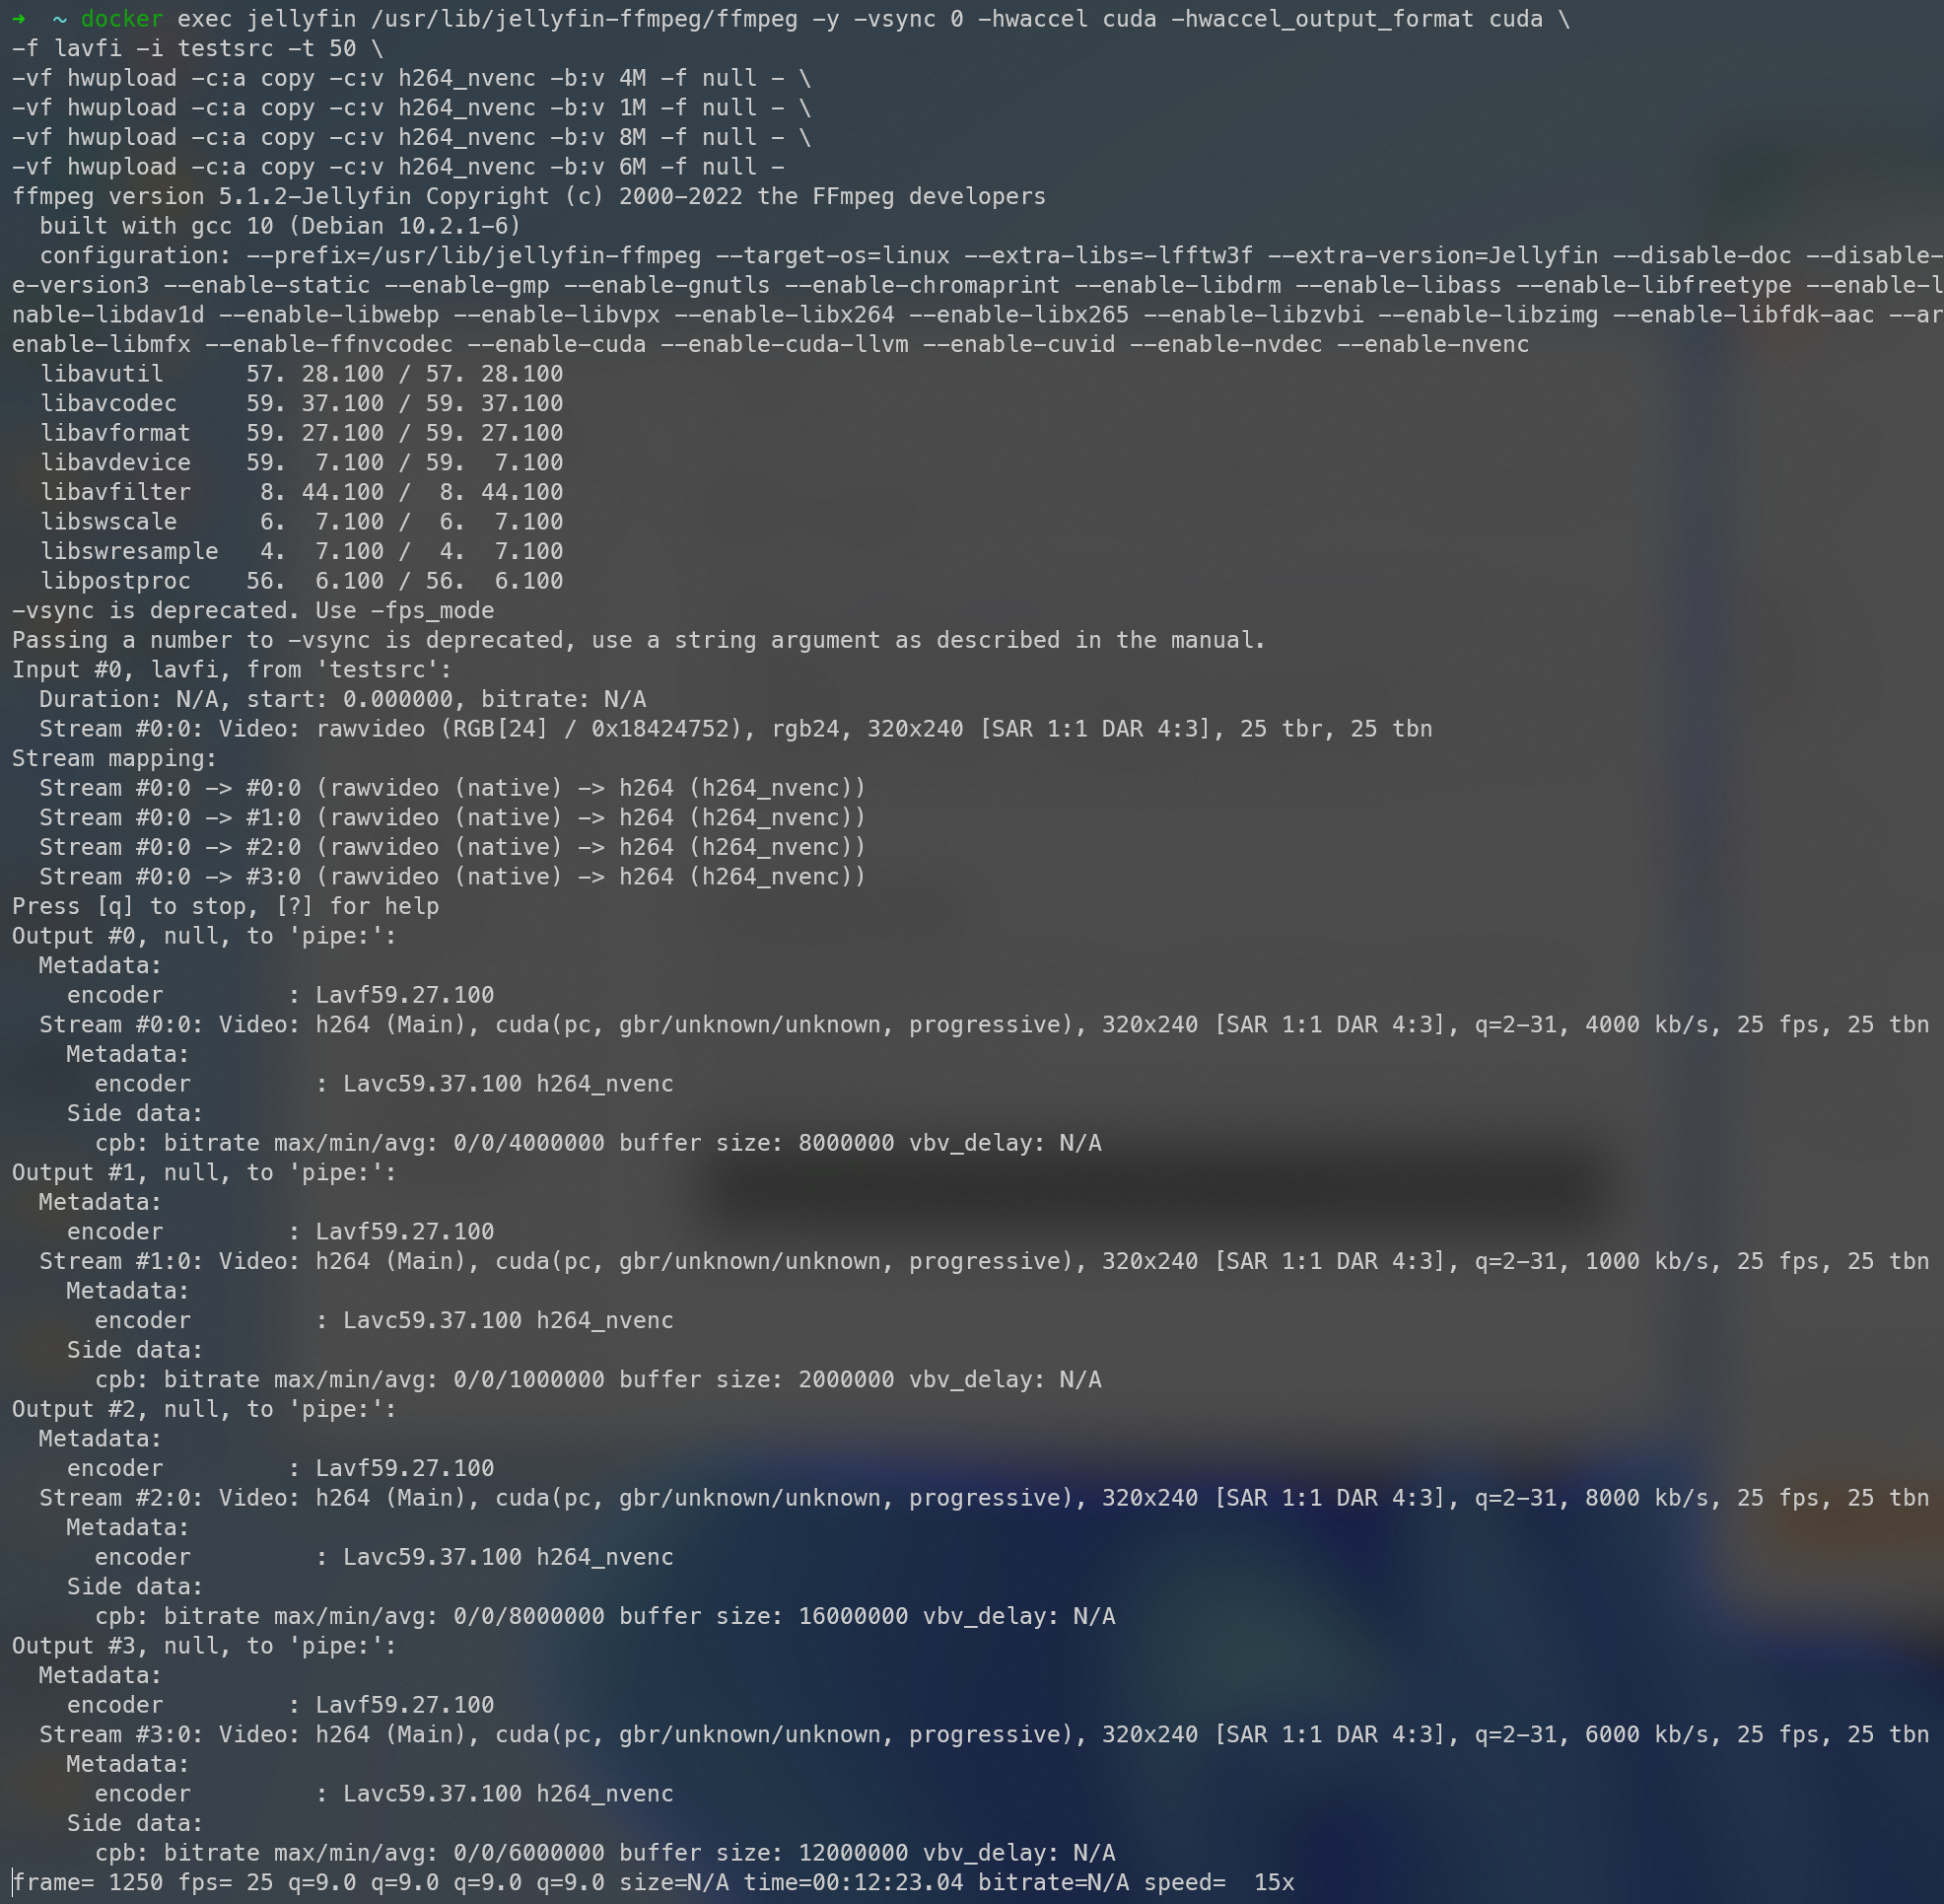
破解完成后,运行nvidia-smi检查GPU和驱动是否有错误。此外,可以通过ffmpeg来测试是否可以无限制编码:
1 | ffmpeg -y -vsync 0 -hwaccel cuda -hwaccel_output_format cuda \ |
打开驱动持久模式
参考:https://www.reddit.com/r/PleX/comments/q0cbh9/quadro_p400_transcoding_information/
这将使GPU驱动长时间加载,对于我的P400,实测可以在播放4K HDR视频时更流畅(不如说原来播放时就一卡一卡的):
1 | nvidia-smi -pm 1 |

安装软件
zsh
安装zsh
zsh作为一个极其好用的shell,是必须安装的(
1 | # 安装 Zsh |
配置zsh
必备插件
zsh-autosuggestions
历史命令建议插件
1 | git clone https://ghproxy.com/https://github.com/zsh-users/zsh-autosuggestions ${ZSH_CUSTOM:-~/.oh-my-zsh/custom}/plugins/zsh-autosuggestions |
zsh-syntax-highlighting
语法高亮插件
1 | git clone https://ghproxy.com/https://github.com/zsh-users/zsh-syntax-highlighting.git ${ZSH_CUSTOM:-~/.oh-my-zsh/custom}/plugins/zsh-syntax-highlighting |
配置~/.zshrc
将plugins=(git)修改为:
1 | plugins=( |
完成后切换到zsh,zsh应该是这个样子的:

Docker
安装Docker
使用官方一键脚本:
1 | curl -fsSL https://get.docker.com | bash -s docker --mirror Aliyun |
配置Docker
切换到国内源
编辑/etc/docker/daemon.json(若不存在请新建):
1 | { |
然后:
1 | systemctl daemon-reload |
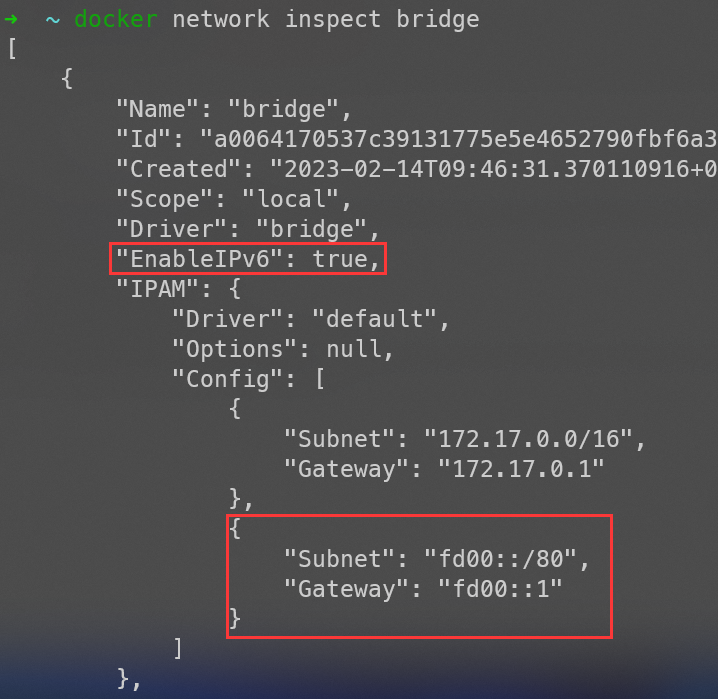
为docker容器启用IPv6
因个人原因,需要Docker中的BT软件能访问IPv6,而docker默认是不启用IPv6的,需要手动开启
编辑/etc/docker/daemon.json:
1 | { |
重启Docker:
1 | systemctl restart docker |
查看Docker容器的IPv6状态:
1 | docker network inspect bridge |
安装Portainer
Portainer是一个优秀的容器管理器,用它我们可以轻易的创建 / 管理Docker容器
1 | # 创建Portainer数据卷 |
安装完成后,通过http://[服务器ip]:9000或https://[服务器ip]:9443访问Portainer管理界面